Immobilizing broken bones when you’re off-grid: How to make a cast with mud
07/27/2018 / By Rhonda Johansson
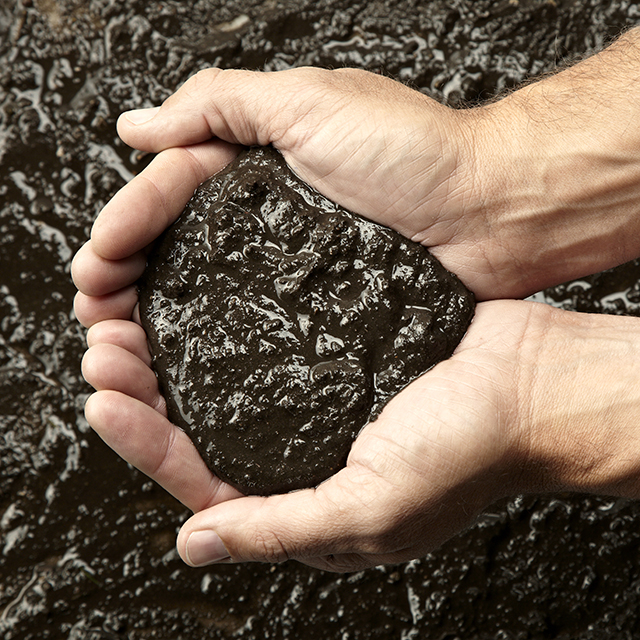
Regular readers of Natural News know that we have always emphasized the importance of prepping and off-grid living. Our topics are varied but all say the same thing: Use what you have and know how to utilize nature to your advantage. This is best exemplified in this short guide that will teach you how to make a mud cast for medical survival. (h/t to Survivopedia.com)
A few things to take note of first. As with anything, mud casts have their own pros and cons. Before deciding on a mud cast, make sure that the situation and environment calls for it. In general, mud casts are easier to work with compared to other natural materials such as vines and leaf wrappings. Moreover, since mud is pretty much everywhere, you can change the cast as often as you need. This, in turn, can prevent the risk of skin infections.
However, you must remember that mud cannot be formed without water. As such, there is a chance of a bacterial infection if you don’t apply the mud correctly. There are some outdoor experts who don’t recommend boiling mud before using it, but you can try it out as a safety precaution. Also consider that mud casts are heavy and may impede movement. You likewise have to realize that depending on where you are and the weather conditions at hand, mud casts can take a while to dry.
If you feel that you’re in a relatively safe place where you can make a mud cast correctly, follow these steps.
- Address any open wounds. To reduce the risk of infection, make sure that any open wound is treated first. Use an antibacterial ointment if you have one. Honey and other natural herbs can be used too. Use sticks and wraps to create tunnels for air to flow. Increased moisture from sweat can build up under the cast and create a nice breeding ground for germs to multiply so make sure that wounds have a space to breathe.
- Set any bone fragments that you are able to take care of. Use small tree branches to make splints. You can use wide, long leaves in place of a gauze. Moss and other soft plant materials can be used as a pad around the splint. Use long thick vines as straps to pull bones back in place.
- Find mud. There are many types of mud but the one that you would need is closer to clay than actual dirt. The best way to go about this is to take some material from various places and let it dry out just enough so that it leaves little residue on your hands. Regular mud that cracks easily should not be used. We recommend looking for mud around the bottom of ponds or any other area where organic matter collects and mixes easily with soil.
- Layer thin layers of mud and leaves to hold it in place. Allow for the breeze to dry out the layer somewhat but don’t let them dry completely. Have some water wicking out properly from each layer of the cast.
- Finish the process. Use towels, vines, or anything you can find that can be made into a harness that can hold the affected area closely to your body.
Removing the mud cast is similar to taking off a plaster cast. You would need to cut into the cast and separate the parts to set the injured area free. If you layered your mud and leaf layers correctly, you can grab hold of some of the leaf material and then pull it away from the rest of the cast.
If you injure yourself in the woods, you can try using pine sap to make pitch. The pitch can be used to bind together the leaves or gauze. However, try keeping the pine pitch layers as thin as possible as they are harder to remove than mud.
You can also try experimenting with maple syrup and other kinds of sap such as latex, rubber, and other pliable materials.
Read more news about prepping and knowing how to survive at Offgrid.news.
Sources include:
Tagged Under: bug out, medical emergencies, mud cast, off grid, preparedness, prepper, prepping, self-reliance, SHTF, survival, survivalist

